
Step-by-Step Guide to Gem Cutting and the Gem Polishing Process

Cutting and polishing gemstones is a precise craft that transforms rough stones into dazzling jewels. This process requires skill, patience, and the right tools. Whether you work with diamonds, sapphires, or quartz, understanding the step-by-step gem cutting and polishing process is essential. In this guide, I will walk you through each stage, explaining the techniques and tools involved. This knowledge is valuable for anyone involved in industries requiring precision cutting and finishing of hard materials.
Understanding the Gem Polishing Process
Before diving into the cutting steps, it’s important to grasp the gem polishing process. Polishing is what gives a gemstone its brilliance and shine. After cutting, the gem’s surfaces are rough and dull. Polishing smooths these surfaces to a mirror finish, enhancing the stone’s optical properties.
The gem polishing process involves several stages:
Pre-polishing: Using finer abrasives to remove scratches left by cutting.
Final polishing: Applying ultra-fine abrasives or diamond paste to achieve a glossy surface.
Inspection: Checking for any imperfections or unevenness.
Each step requires careful control of pressure, speed, and abrasive type. The goal is to maximize the gem’s light reflection and refraction, which creates its sparkle.

Step 1: Selecting and Preparing the Rough Gemstone
The first step in gem cutting is selecting the rough stone. This involves examining the raw material for clarity, color, and size. The cutter must identify any inclusions or fractures that could affect the final gem’s durability or appearance.
Once selected, the rough stone is cleaned and prepared for cutting. This may include:
Marking: Drawing guidelines on the stone to plan the cut.
Cleaving or sawing: Splitting the stone into manageable pieces if necessary.
Preparation is critical because it determines how efficiently the stone can be shaped and polished.
Step 2: Shaping the Gemstone - The Cutting Process
Cutting is the stage where the rough stone takes its initial shape. This is done using diamond-tipped saws, wheels, or lasers, depending on the material and desired shape.
The cutting process typically follows these steps:
Preforming: Rough shaping of the stone to remove excess material.
Faceting: Creating flat surfaces (facets) on the stone. Facets are carefully angled to enhance light reflection.
Bruting: Rounding the stone’s outline, especially for round cuts.
Precision is key here. The angles and symmetry of facets affect the gem’s brilliance. Modern cutters use computer-aided design (CAD) and laser technology to improve accuracy.
How do jewelers polish gemstones?
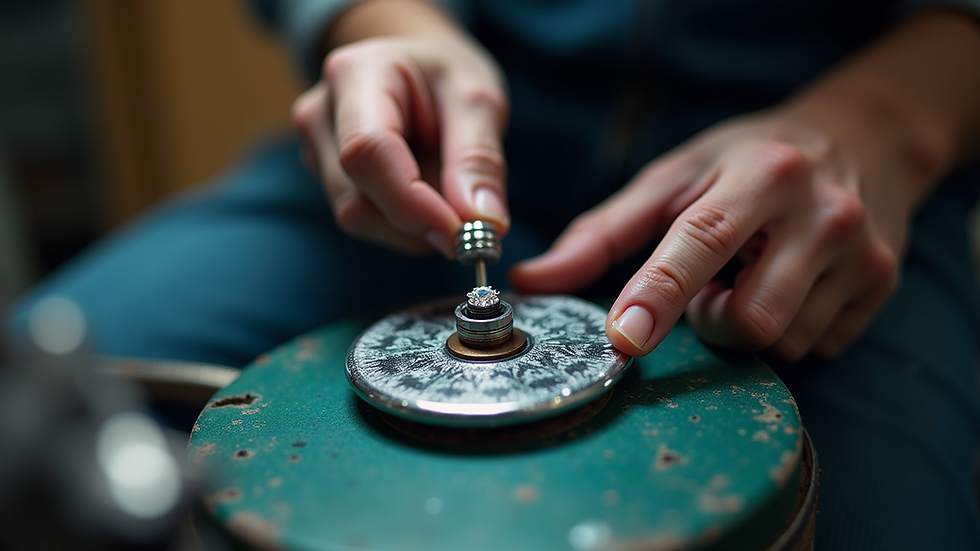
Polishing gemstones is a delicate art. After cutting, the gem’s facets are rough and need smoothing. Jewelers use polishing wheels coated with diamond grit or other abrasives to refine each facet.
The process involves:
Applying the gem to the polishing wheel: The stone is held at precise angles.
Using progressively finer abrasives: Starting with coarse grit and moving to ultra-fine.
Controlling speed and pressure: To avoid overheating or damaging the gem.
Polishing enhances the gem’s optical qualities by removing microscopic scratches and creating a reflective surface. It requires steady hands and experience to achieve a flawless finish.
Step 4: Inspecting and Final Touches
After polishing, the gemstone undergoes thorough inspection. This includes checking for:
Surface scratches or pits
Symmetry and facet alignment
Color consistency and brilliance
If imperfections are found, the gem may be re-polished or recut. Sometimes, additional treatments like heat or coating are applied to enhance color or clarity.
Final touches might also involve cleaning the gem to remove any polishing residues. The finished stone is then ready for setting into jewelry or industrial use.
Practical Tips for Effective Gem Cutting and Polishing
To achieve the best results, consider these recommendations:
Use high-quality diamond tools: They provide durability and precision.
Maintain equipment regularly: Sharp blades and clean polishing wheels improve efficiency.
Work in a controlled environment: Dust and temperature can affect polishing quality.
Practice patience: Rushing can cause mistakes or damage.
Document your process: Keeping records helps refine techniques over time.
For those interested in the technical side, learning more about how are gems cut and polished can provide deeper insights into the science and technology behind this craft.
The Importance of Precision in Industrial Applications
Beyond jewelry, the principles of gem cutting and polishing apply to many industrial sectors. Precision cutting and polishing are crucial for:
Semiconductor wafers: Smooth surfaces ensure proper electronic function.
Optical lenses: Polished surfaces improve clarity and reduce distortion.
Advanced materials: Specialty alloys and composites require exact finishes for performance.
Using diamond tools designed for these applications ensures consistent quality and durability. Understanding the gem polishing process helps manufacturers optimize their workflows and product quality.
Final Thoughts on Mastering Gem Cutting and Polishing
Mastering the art of gem cutting and polishing is a rewarding endeavor. It combines technical skill with artistic vision. Whether shaping a precious stone or finishing a high-tech component, the principles remain the same: careful preparation, precise cutting, meticulous polishing, and thorough inspection.
By following this step-by-step guide, you can improve your craftsmanship and produce stones or components that meet the highest standards of quality and brilliance. Remember, the key to success lies in attention to detail and continuous learning.
This guide aims to provide a clear, practical overview of the gem cutting and polishing process. With the right tools and techniques, you can achieve exceptional results that shine in any application.


Comments